Creating a new AdonisJS application
Now that our development environment is fully set up, let's create our first AdonisJS application. We can do this by using the npm init command:
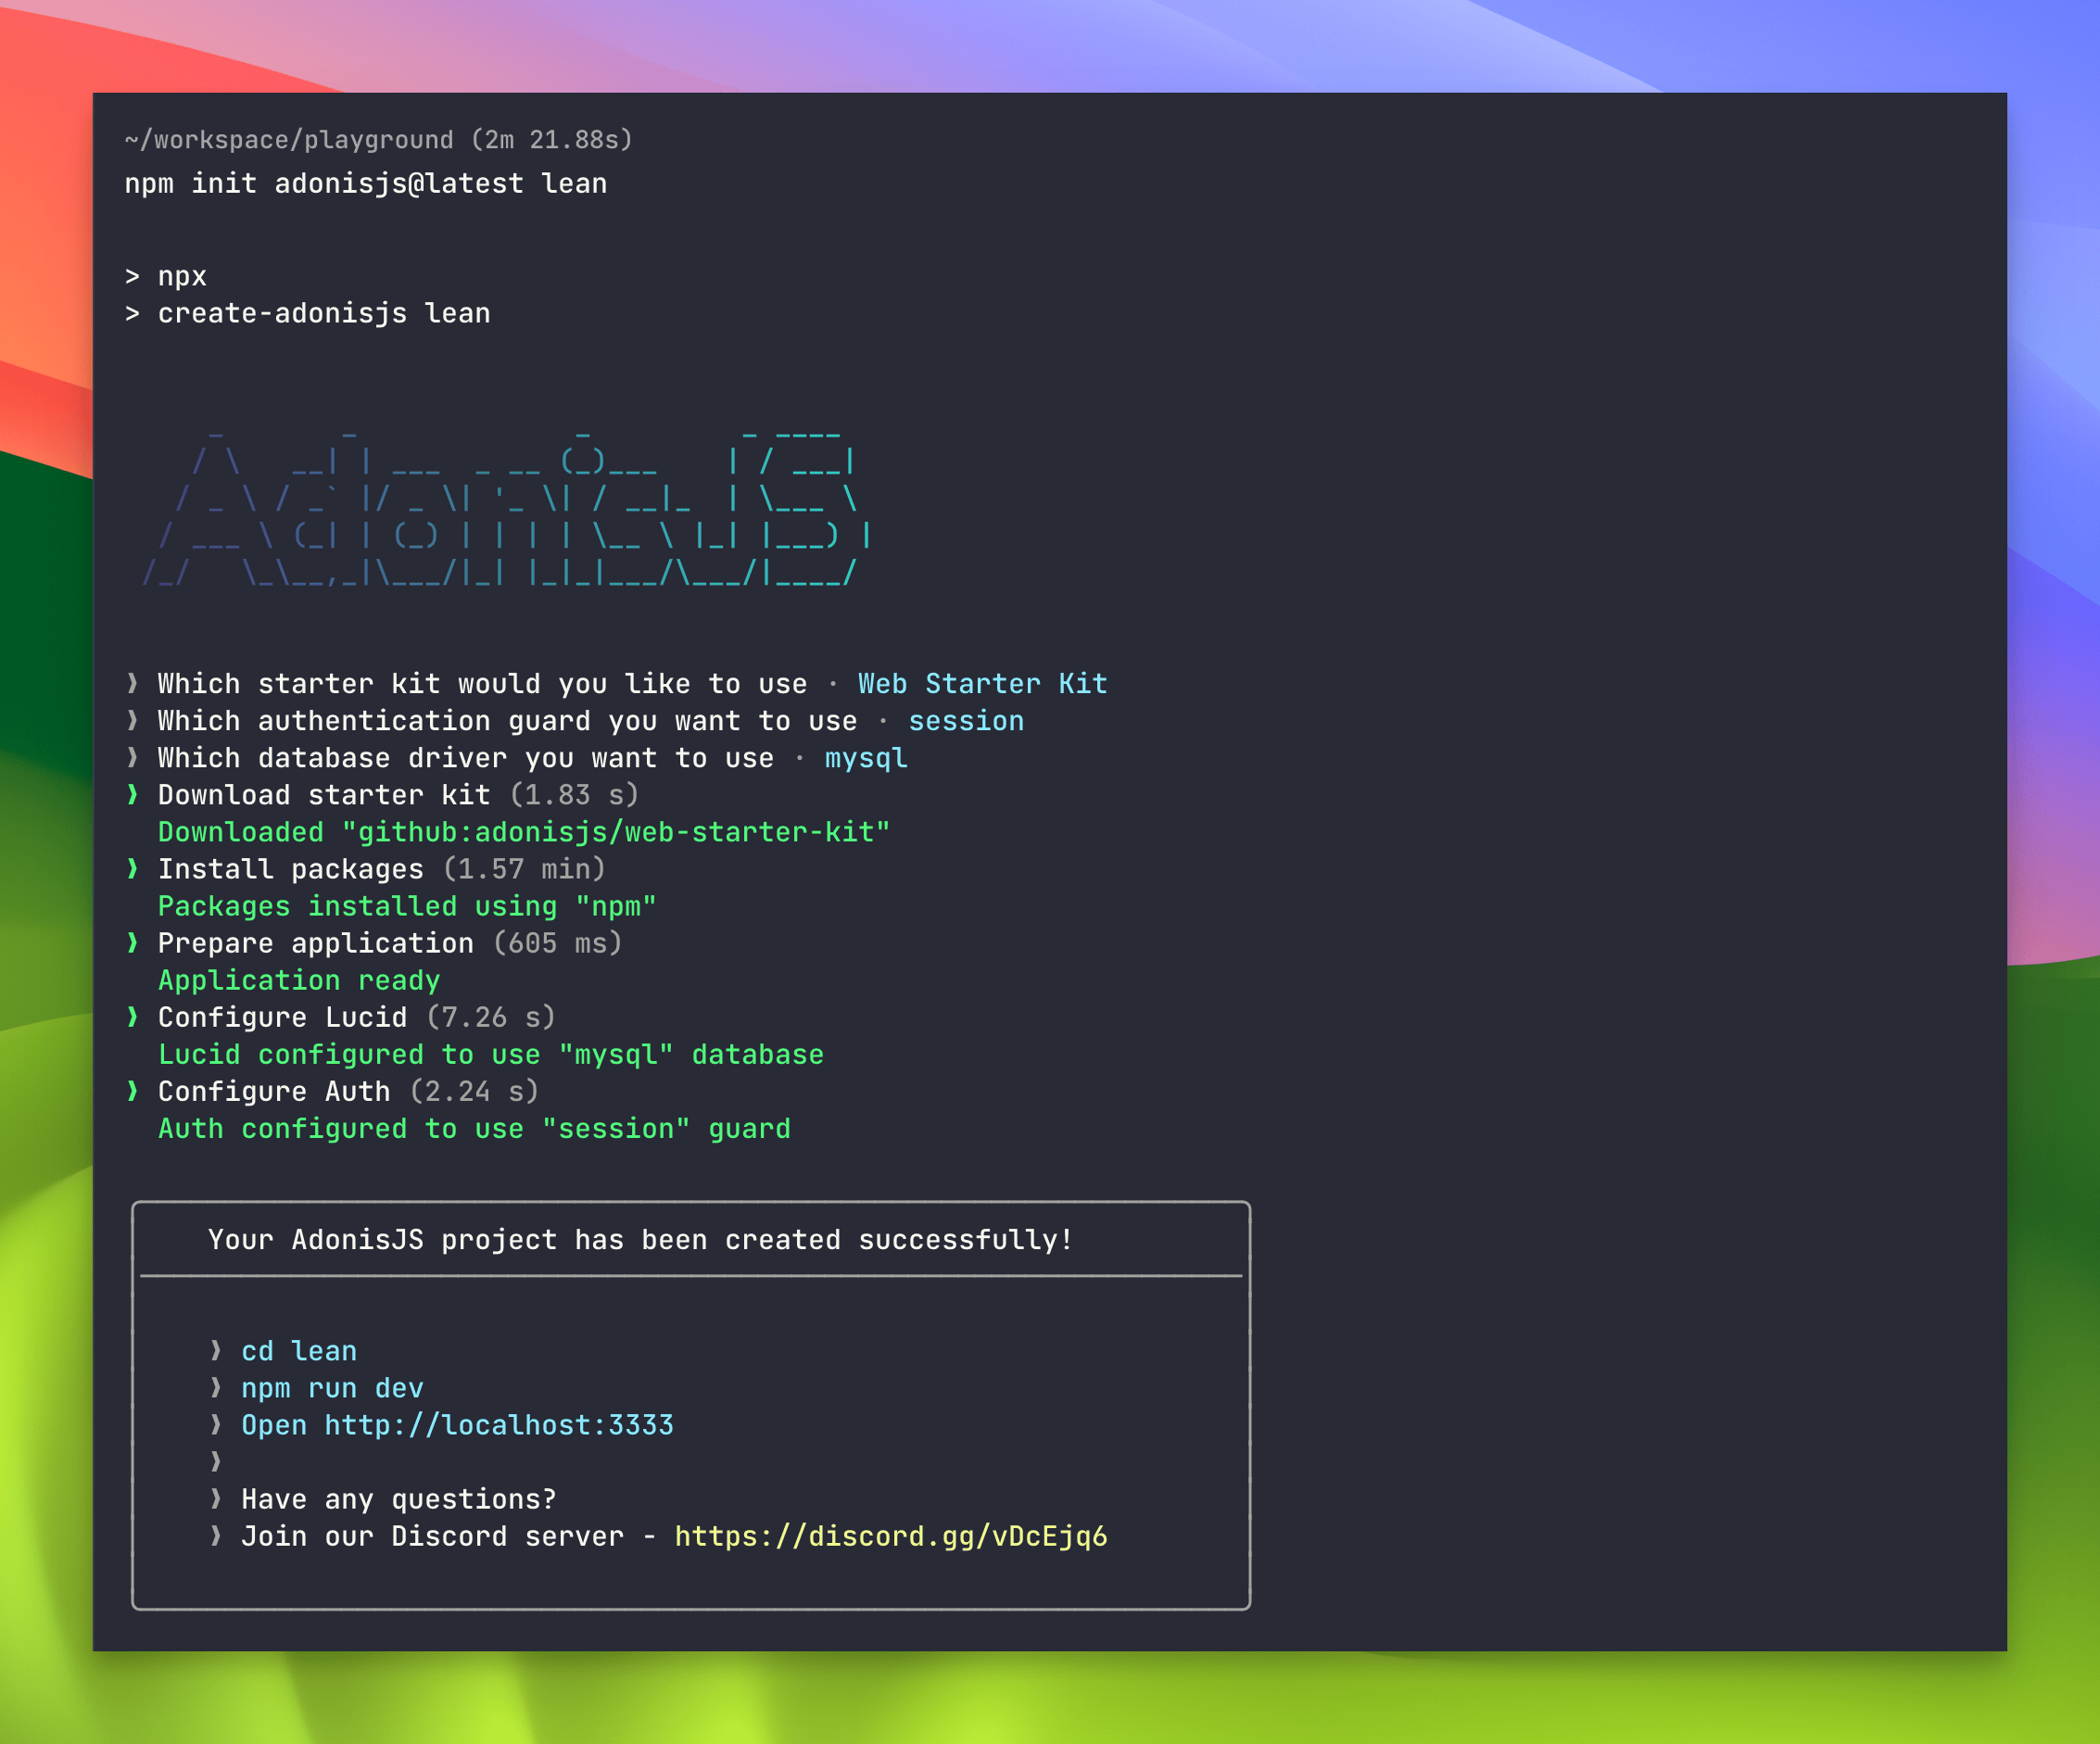
npm init adonisjs@latest leanI’m calling the application “lean”, but, you can name it whatever you like. This will download the create-adonisjs initialiser package and begin the installation process.
Starter kits
During installation, we’ll be prompted to select a starter kit. Starter kits serve as a starting point for creating applications using AdonisJS. They come with the default AdonisJS folder structure, pre-configured AdonisJS packages, and the necessary tooling you need during development.
By default, there are four options to choose from:
- Slim starter kit: A lean AdonisJS application with just the framework core. You would use this option if you want something minimal without all the batteries AdonisJS comes with.
- Web starter kit: Contains everything you need to build a server-rendered application. In addition to the framework core, this includes:
- Edge template engine
- Vine for validation
- Lucid ORM
- Authentication
- Shield for security features like Cross-Site Request Forgery protection
- Static middleware to serve assets from the public directory
- Vite for compiling front-end assets
- API starter kit: A trimmed-down version of the web starter kit, tailored for creating JSON APIs.
- Inertia starter kit: Uses Inertia to build server-driven single-page applications paired with AdonisJS and a front-end framework.
In this course, we'll be building a server-rendered application, and as such, I will select the web starter kit and press enter.
Authentication options
After selecting a starter kit, we’ll be prompted to choose an authentication guard. AdonisJS provides three authentication options:
- Session Guard: Authenticates users using cookies and session
- Access Token: Authenticates clients using API tokens
- Basic Auth: Authenticates users using HTTP basic auth
We can select any of these options or skip and configure authentication later. Since we are building a server-rendered application, the session guard makes sense for what we are building. So, I will select session as the authentication guard we want to use. Again, I'm going to press enter.
Setting up a database
Next, we are prompted to select the database driver we want to use. As I said in previous lessons, we will use MySQL in this course. So, I will select MySQL and press enter, but if you are using a different database, you can select the corresponding driver for the database you are using.
This will download the starter kit we selected, which is the web starter kit. Then, it will install the necessary dependencies and configure the necessary packages, which in this case are Lucid and auth.
Starting the AdonisJS application
Our first AdonisJS application has been successfully created. To confirm that the application was indeed created successfully, let’s start the application:
cd lean
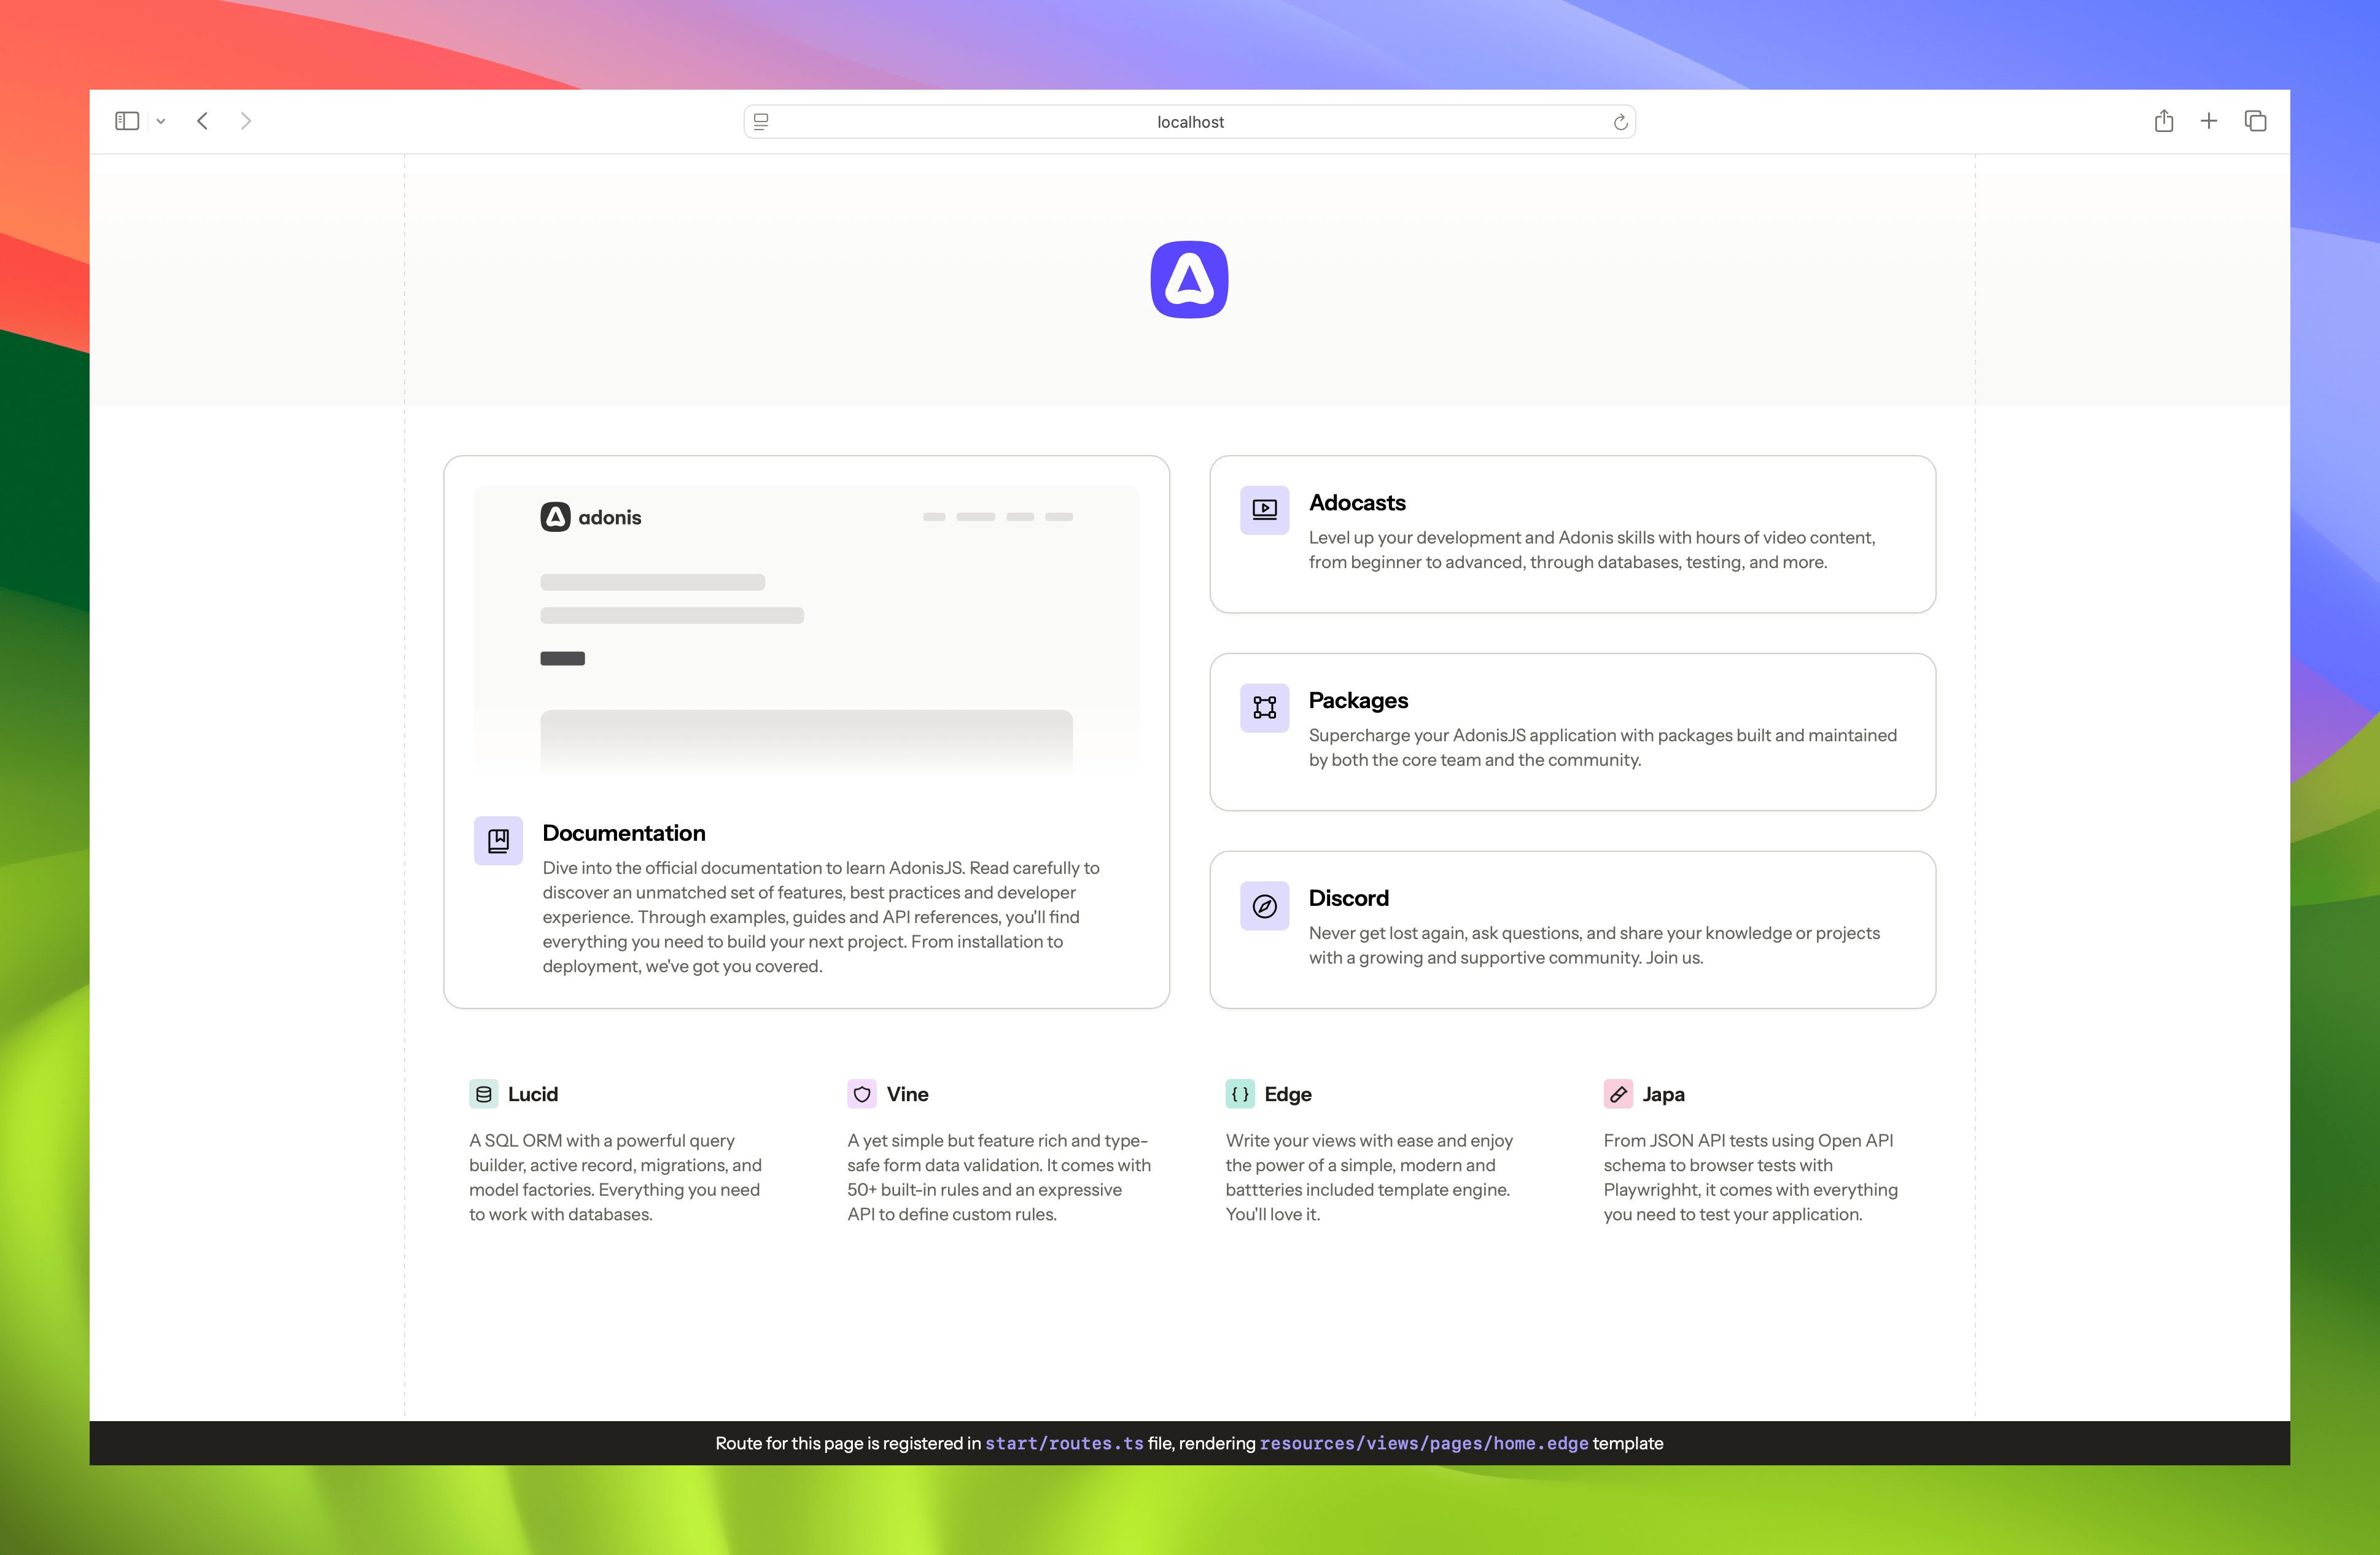
npm run devAfter running the command, the application will start and will be accessible at http://localhost:3333. We can open this URL in a web browser, and we should see the default AdonisJS welcome page.
To wrap up this lesson, let's open the project in VS Code:
vscode .This will open the whole project inside VS Code.